
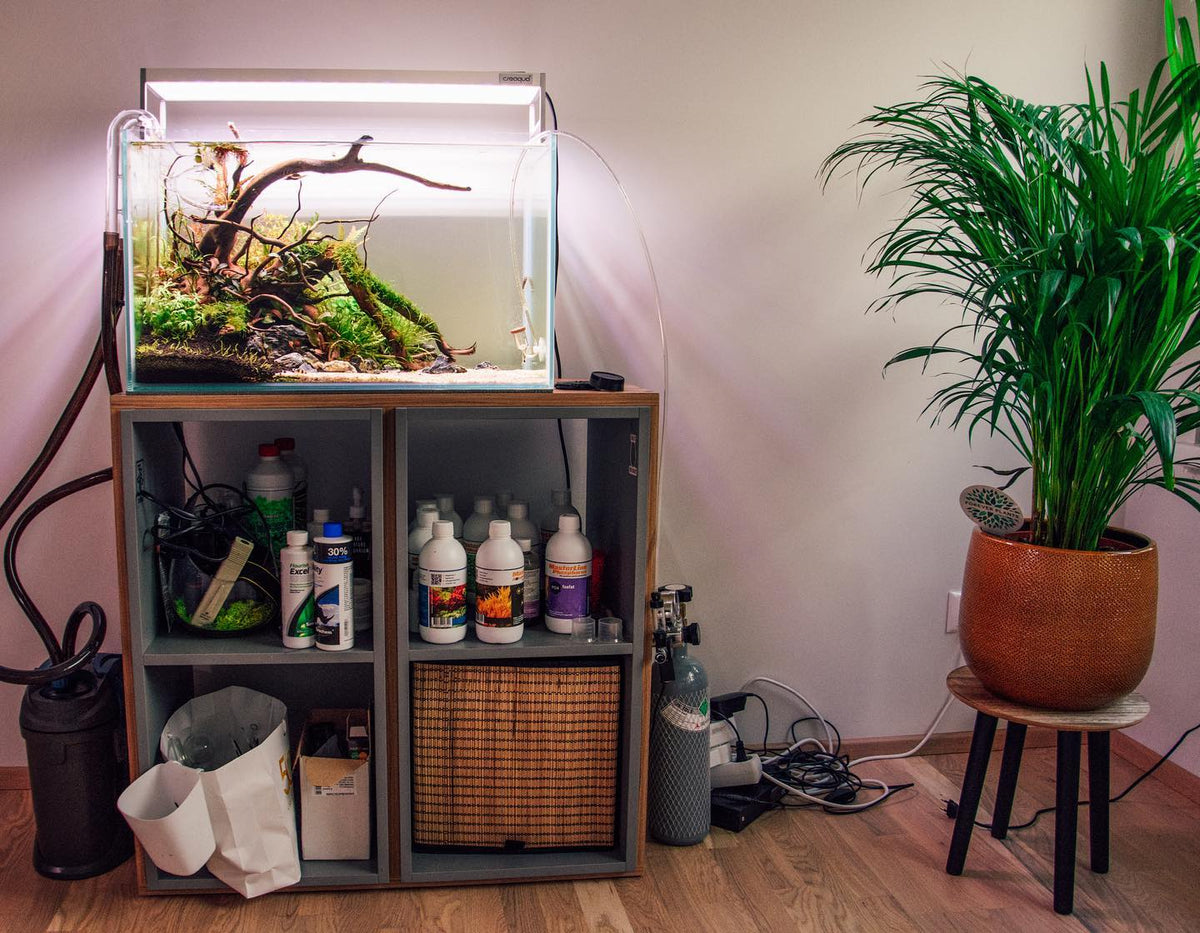
The best drop checker for a planted aquarium is a glass one that sits inside the tank where you can actually see it, filled with a ready-made reference solution rather than tank water. The vessels barely differ between makes; what decides whether the reading is honest is the liquid inside it and where you mount it. This guide covers both before you buy.

What does a drop checker tell you?
A drop checker is a small sealed glass vessel that hangs inside the tank with an air gap trapped between the aquarium water and a coloured liquid. Carbon dioxide leaves the water, crosses that air gap and dissolves into the liquid, and the liquid changes colour as its pH moves. Blue means there is too little gas in the water, deep green means the level is about right, and yellow means too much. That one colour is the only thing a drop checker reports — it is not a pH meter and it tells you nothing about hardness, nitrate or anything else in the tank.
So the reading is indirect, and it is slow. The colour you see is the level from a few hours ago, not the level this second, which is why you change a bubble rate and then leave the tank alone instead of adjusting it twice in one evening. If you want the chemistry behind the colours — why the gas, pH and carbonate hardness are tied together — it is set out in 7 things you need to know about drop checkers.
Why the solution matters more than the glass
Most glass checkers are the same idea in slightly different shapes, so the part that decides whether you can trust the reading is what you pour into it. It has to be a reference solution: distilled or de-ionised water brought to a known, fixed carbonate hardness — the standard strength for aquarium drop checkers is 4 dKH — with a pH indicator added. Because that hardness is known and never changes, the colour can only be answering one question: how much dissolved gas is in your water.

Filling the checker with tank water is the common mistake, and it quietly ruins the instrument. Aquarium water carries other acids and buffers — driftwood, fertiliser, waste, your tap supply — so its pH reflects all of them at once rather than the gas you are trying to read. Use a mixed reference liquid instead.
What to look for when you buy a drop checker
Four things separate a checker you will still be reading next year from one you stop trusting: the material, the mount, the size against your tank, and whether you can buy refills.
Glass or plastic?
Glass stays clear, takes a wipe when algae settles on it, and does not absorb the indicator. Acrylic and plastic vessels cost less and survive being dropped, but they cloud and stain with age, and a yellowed vessel makes a green reading very hard to judge. For something you look at every day and judge by colour alone, glass is the easier buy.
The mount: suction cup, rim clip or magnet
A suction cup is the usual answer and works on any glass tank; cups perish eventually and are cheap to keep spare. Rim clips and magnet mounts leave the inside of the glass clear and suit rimless tanks, but they fix the checker at the water line, which is not always where you want to read it. Decide where you will actually look, then choose the mount.
Size against your tank
A small vessel is discreet in a nano tank and close to invisible in a large one. In a big or long aquarium, favour a checker you can read from where you normally stand, and keep in mind that a checker reports its own corner of the tank rather than the whole volume.
Can you get refills?
The solution is a consumable and the suction cup perishes, so buy a checker whose refills you can get again. A set gets you started; a spare bottle on the shelf keeps the reading honest. Both sit with the rest of our CO2 accessories.
| Option | What tank it suits | How reliable the reading is | What's included | Price band |
|---|---|---|---|---|
| Glass checker sold as a set with solution | Any planted tank; the straightforward first buy | Good — it reads a known reference liquid, never tank water | a glass vessel with cuction cup and pH indicator solution | €10-€30 |
| Glass checker on its own | A second tank, a spare, or the far end of a long tank | The same as a set, once you fill it with reference solution | Glass vessel and usually a suction cup; no solution | €5-€20 |
| Rim-clip or magnet-mounted glass checker | Rimless tanks, and anyone who wants the glass left clear | Same chemistry; depends on the air gap staying put at the water line | Checker and its mount; solution varies by seller | from €15 |
| Acrylic or plastic checker | Tight budgets, or tanks where glass is awkward | Clouds and stains with age, which makes green hard to judge | Vessel and mount; solution varies by seller | from €5 |
| Ready-made solution refill | Every tank that already has a checker | The part that decides accuracy — replace it monthly | a small bottle with pH indicator sulution | from €5 |
Which drop checker suits which tank
For a first planted tank, a set that arrives with glass, mount and solution together is the least fuss — nothing to source separately, nothing to mix. For a second tank, or as a spare for the day one ends up in the gravel, a plain glass checker on its own is the cheaper half of the same purchase, as long as you already keep solution in the cupboard.
Long tanks are the case worth planning for. Dissolved gas spreads unevenly along a long aquarium, so a single checker beside the outflow can read comfortably green while the far end runs short and the plants there sulk. Hanging a second checker at the opposite end for a few weeks tells you whether your flow is carrying the gas across the tank — information no single checker can give you, whatever you spend on it.
Where to put the drop checker and how to read the colour
Mount it inside the tank on the front or side glass, below the water line, with air trapped in the vessel — that air gap is what the gas has to cross, and a checker filled to the brim reads nothing at all. Keep it away from the diffuser's mist and out of the filter outflow: bubbles striking the vessel overstate the reading, and dead water understates it. Mid-height, in clear view, on the opposite side from the diffuser is the usual compromise.
Read it in daylight against a pale background, late in the photoperiod, once the gas has had the day to build up. Blue in the morning and green by late afternoon is a normal day's curve, not a fault. If you would rather see the assembly done than described, we filmed it: drop checker installation.
- Blue — not enough dissolved gas in the water.
- Deep green — the level is about right for a planted tank.
- Yellow — too much; turn the dose down before the fish tell you.
- No change all day — suspect the checker, not the tank.
Keeping the reading honest
Indicator solution tires. It takes up gas, sits in the light and drifts, so replace it monthly rather than topping it up — the instruction on our own bottle says the same. Tie the refill to a water change and you will not forget it. Rinse the vessel with distilled water rather than tap water, let it drain, then fill it again.
Watch for the failure that looks like a reading: a checker stuck on one colour for days. Usually it is old solution, algae on the glass, a lost air gap, or tank water that got in during a rescape. Clean it, refill it, re-mount it and read it again the next day before you touch the regulator. A checker that has stopped responding will happily talk you into overdosing the tank.
Where a drop checker fits in a CO2 system
A drop checker is an indicator, not a control. It reports what your settings produced; the dose itself is set by the regulator, the needle valve and the solenoid that switches the gas with your lights, and delivered by the diffuser. Tuning runs in that order: set a bubble rate, let the tank run a full photoperiod, read the colour, change one thing. Our CO2 regulators carry the needle valve and solenoid that make those small changes repeatable.

If you are putting a first set-up together, buy the checker with the rest of the gear rather than after it — the opening weeks are when you most need to know whether the dose is anywhere near right. Growers generally aim for a target of 30 ppm of dissolved gas, which on a drop checker is simply deep green. Green, and steady day after day, is the whole job.
Frequently asked questions
Do I need a drop checker if I already have a CO2 regulator?
Yes, if you want to know what the regulator is actually doing in the water. The regulator and needle valve set the bubble rate; a drop checker is the one cheap thing in the hobby that reports the result inside the tank, where the plants and fish live.
Can I fill a drop checker with tank water?
No. Tank water carries acids and buffers from driftwood, fertiliser, waste and your tap supply, so its pH reflects all of those rather than the dissolved gas. Use a reference solution of known carbonate hardness, so the colour can only mean one thing.
How often should I change the drop checker solution?
Monthly is the habit to keep, and sooner if the colour stops moving between morning and evening. Refilling it during a water change is the easiest way to remember. Rinse the vessel with distilled water, not tap water, before you fill it again.
Where should I put the drop checker in the tank?
Inside the tank, on the front or side glass, below the water line, at a height you can see from where you normally stand. Keep it clear of the diffuser's mist and the filter outflow — both of those bias the colour you read.
Why is my drop checker always blue?
Either the tank really is short of gas, or the checker has stopped working. Check the air gap, the age of the solution and the glass for algae first. Then raise the dose by one small step and give the tank a full day to answer.
Starting from scratch? The CO2 drop checker set puts the glass, the suction cup and the ready-made solution in one box.
Teilen:
Einstufiger oder zweistufiger CO2-Druckminderer: der Unterschied